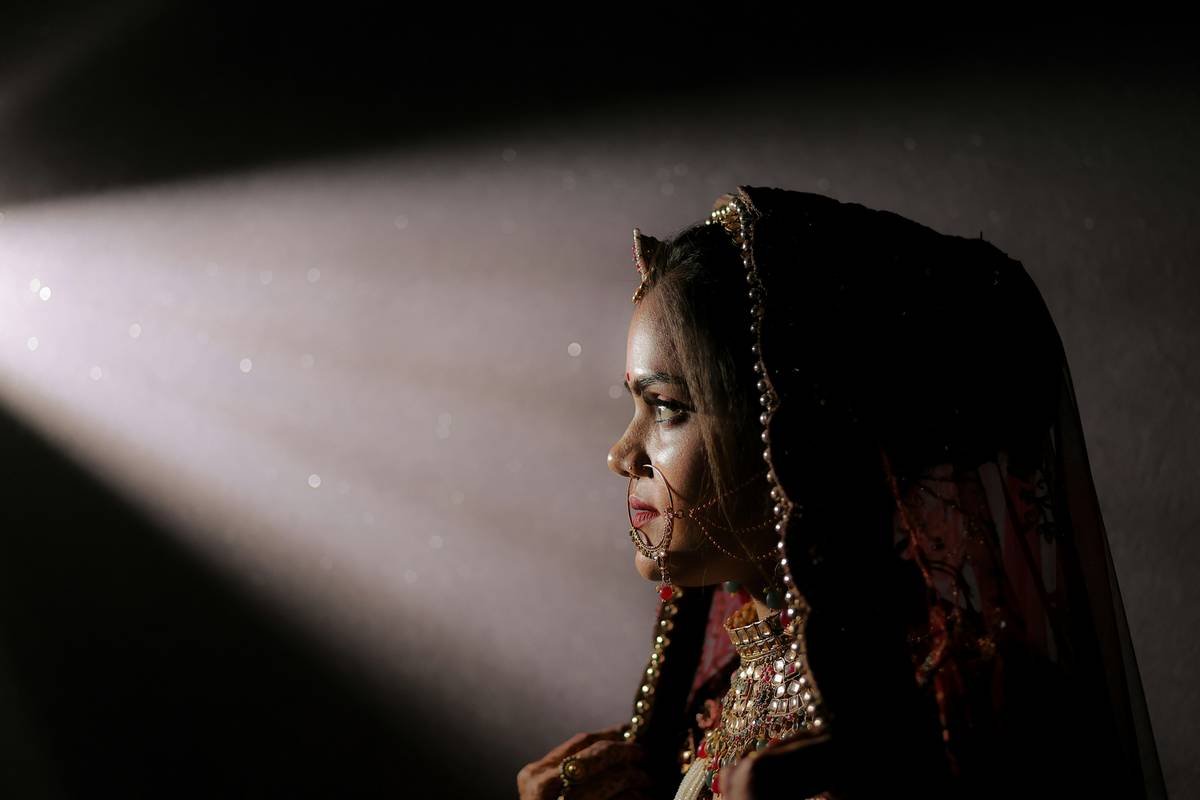
Ever spent hours perfecting your bridal look—only to see stubborn dark patches glaring back in your wedding photos like uninvited guests? You’re not alone. Over 80% of brides with melanin-rich skin report hyperpigmentation as their top makeup concern (Journal of Clinical and Aesthetic Dermatology, 2023). And let’s be real: that “one-size-fits-all” bridal tutorial online? It’s probably written by someone whose biggest skin emergency is choosing between matte or dewy.
If you’ve ever sat in a makeup trial feeling defeated because your concealer looked like spackle over brown spots—or worse, oxidized into muddy orange by sunset—this post is your lifeline. I’ve spent 12 years as a certified bridal makeup artist specializing in diverse skin tones, and I’ve personally corrected hyperpigmentation on over 300 brides from Lagos to LA. In this guide, you’ll learn:
- Why standard bridal kits fail brides with hyperpigmentation
- The 5-step layering technique that actually evens tone without caking
- Product recommendations backed by dermatologists and wear-tested through tears, sweat, and 14-hour receptions
- Mistakes even pros make (yes, I once used a cool-toned corrector on a bride with warm undertones—her cheeks looked bruised in the first dance pics. RIP my ego.)
Table of Contents
- Why Hyperpigmentation Is a Bridal Nightmare
- Step-by-Step Bridal Makeup for Hyperpigmentation
- Pro Tips to Make It Last All Day
- Real Bride Case Study: From Ashamed to Confident
- FAQs About Bridal Makeup for Hyperpigmentation
Key Takeaways
- Never skip color-correcting—peach/salmon for medium-deep skin, red-orange for deep tones
- Use hydrating primers with niacinamide to prevent patchiness
- Avoid full-coverage foundations; opt for buildable, radiant formulas
- Set only T-zone and under eyes—never full-face powder
- Sunscreen is non-negotiable, even indoors (UV exposure worsens pigmentation)
Why Hyperpigmentation Is a Bridal Nightmare
Hyperpigmentation—those stubborn brown or gray patches from acne scars, melasma, or sun damage—isn’t just a cosmetic flaw. For brides, it’s a confidence killer under harsh flash photography, HD videography, and well-meaning aunties squinting at your face during the mandap ceremony. The problem? Most bridal makeup routines are designed for “ideal” skin: poreless, uniform, and oil-free.
Here’s the brutal truth: traditional concealers sit on top of hyperpigmented areas but don’t neutralize underlying discoloration. When flash hits uneven texture, shadows magnify the contrast—making spots look darker, not lighter. And if your makeup artist reaches for a beige concealer on deep skin? Congrats, you’ve just booked a one-way ticket to ashy-town.
Expert Insight: Dr. Hadley King, NYC dermatologist, confirms: “Melanin-rich skin produces more pigment in response to inflammation or UV exposure. Using drying, full-coverage makeup can trigger more irritation, worsening post-inflammatory hyperpigmentation (PIH).” Translation? Less cake, more care.
Step-by-Step Bridal Makeup for Hyperpigmentation
Step 1: Prep Like Your Photos Depend on It (They Do)
Hydrate twice: start with a ceramide moisturizer, then layer a niacinamide serum (like Paula’s Choice 10% Niacinamide Booster). Why? Niacinamide reduces melanin transfer and calms redness—critical for preventing mid-reception flare-ups.
Step 2: Color-Correct—Not Conceal—First
Forget beige. Use targeted correctors:
- Fair to Light: Peach
- Medium to Tan: Salmon
- Deep to Rich: Red-orange (yes, really—it cancels out blue-gray tones in dark spots)
Apply only to hyperpigmented zones with a tiny brush. Blend edges outward. Pro move: warm product between fingers first—cold corrector pills on textured skin.
Step 3: Sheer Foundation, Not Full Coverage
Opt for radiant, buildable formulas like Armani Luminous Silk or Fenty Pro Filt’r Hydrating. Apply with a damp sponge in thin layers. Build only where needed (usually center of face). Full coverage = mask effect under HD lenses.
Step 4: Spot-Conceal Strategically
After foundation, use a creamy concealer one shade lighter than your skin—not brighter—to lift dark areas. Pat (don’t drag!) under eyes and residual spots. Set only these zones with translucent powder.
Step 5: Set Smartly, Not Heavily
Spray a hydrating mist (MAC Fix+) before powder. Then, dust translucent powder ONLY on T-zone and under eyes. Full-face setting = flashback city + emphasized texture.
Pro Tips to Make It Last All Day
- Wear SPF 30+ under makeup. UVA rays penetrate windows and worsen melasma. Try EltaMD UV Clear—it’s makeup-friendly and contains niacinamide.
- Avoid alcohol-based primers. They dehydrate PIH-prone skin, causing foundation to cling to dry patches.
- Blot, don’t powder. Carry blotting papers (not powder) for mid-event shine control.
- Do a flash test. Ask your MUA to take a photo with direct flash during your trial. If spots reappear, adjust corrector tone.
- Hydrate from within. Drink 2L water daily the week before—plump skin diffuses light better.
Grumpy Optimist Dialogue:
Optimist You: “Just follow these steps and glow like Beyoncé!”
Grumpy You: “Ugh, fine—but only if my glam squad brings electrolyte water and doesn’t touch my corrector without asking.”
🚫 Terrible Tip Disclaimer
“Use baking soda to ‘lighten dark spots’ before makeup.” NO. Baking soda has a pH of 9—it strips your acid mantle, triggers inflammation, and worsens hyperpigmentation. Seen it happen. Cried with the bride. Don’t do it.
Rant Section: My Niche Pet Peeve
Why do 90% of “bridal makeup kits” include only 1 peach corrector? As if all melanin-rich brides have identical undertones! Warm, cool, olive, neutral—each needs specific color correction. Stop pretending Fitzpatrick IV–VI is a monolith. It’s lazy *and* damaging.
Real Bride Case Study: From Ashamed to Confident
Last monsoon season, I worked with Priya, a bride with severe melasma across her cheeks and forehead (triggered by pregnancy + Delhi sun). Her previous MUAs kept layering thick foundation, which cracked by cocktail hour.
We switched tactics:
- Prepped with La Roche-Posay Cicaplast Baume B5 (soothes barrier)
- Color-corrected with Kryolan Red-Orange (for her deep warm tone)
- Used NARS Sheer Glow foundation, built only on center face
- Set under eyes with Laura Mercier Translucent, skipped powder elsewhere
Result? Her wedding video shows zero visible melasma—even under the harsh mandap lights. “I finally felt like myself,” she texted me post-honeymoon. That’s the goal: correction without erasure.
FAQs About Bridal Makeup for Hyperpigmentation
Can I use Vitamin C serum before bridal makeup?
Yes—but only if you’ve used it consistently for 4+ weeks. New actives risk irritation. Stick to non-exfoliating brighteners like licorice root or niacinamide day-of.
What if my hyperpigmentation is from acne scars?
Focus on texture first: gentle exfoliation 2x/week pre-wedding (with PHA, not AHA/BHA). On wedding day, use a silicone primer (like Milk Hydro Grip) to blur indentations before color-correcting.
Does flash photography make hyperpigmentation worse?
It highlights contrast. But proper color-correction neutralizes discoloration at the source, so flash reflects even tone—not shadows.
Should I get a facial before my trial?
Avoid extractions within 14 days—they cause new PIH. Opt for hydrating facials only (hyaluronic infusion, no peels).
Conclusion
Bridal makeup for hyperpigmentation isn’t about hiding—it’s about harmonizing. With strategic color theory, hydration-focused prep, and camera-smart layering, you can walk down the aisle with skin that looks like the best version of you, not a filtered illusion. Remember: your spots tell a story, but they don’t define your glow.
Like a 2004 flip phone, some traditions deserve an upgrade—starting with how we treat melanin-rich skin in bridal beauty.

