Ever stared at your makeup bag on the morning of a big event and thought, “Do I even own the right tools for this?” Yep, we’ve all been there—especially when it comes to wedding makeup brushes.
If you’re prepping for your big day or helping someone else get bridal-ready, you know that flawless makeup isn’t just about skill—it’s also about having the right tools. And if you don’t have quality wedding makeup brushes in your kit? Girl, you’re playing Russian roulette with foundation streaks and eyeshadow fallout.
In this post, we’ll dive into everything you need to know about wedding makeup brushes: which ones to use, how to use them like a pro, and mistakes you *definitely* want to avoid (yes, including my personal fail involving too much glitter). Let’s make your bridal look as smooth as your contour game!
Table of Contents
- Key Takeaways
- Why Wedding Makeup Brushes Matter
- Step-by-Step Guide to Using Wedding Makeup Brushes
- Best Practices for Perfect Bridal Makeup
- Real-Life Examples from Bridal Artists
- Frequently Asked Questions
- Conclusion
Key Takeaways
- Invest wisely: Quality wedding makeup brushes are non-negotiable for long-lasting, professional results.
- Know the essentials: Foundation, blending, and detail brushes should be staples in every bridal makeup setup.
- Avoid rookie mistakes: Don’t overload your brushes or skip cleaning before the big day.
- Practice makes perfect: Test your routine beforehand to ensure seamless execution.
Why Wedding Makeup Brushes Matter
Picture this: You wake up on your wedding morning, ready to slay. But then…your blush looks muddy, your eyeshadow creases within two hours, and your highlighter? Well, let’s just say it’s more “dust storm” than “dewy glow.” What went wrong?
Most likely? Subpar brushes—or worse, no brushes at all. Sure, sponges and fingers can work in a pinch, but they won’t give you that high-definition finish every bride deserves. Here’s why investing in wedding makeup brushes is worth every penny:
- Precision: A good brush lets you blend without harsh lines or patchiness.
- Durability: Professional-grade brushes hold pigment better and last longer under pressure.
- Hygiene: Unlike reusable sponges, brushes are easier to clean thoroughly between uses.

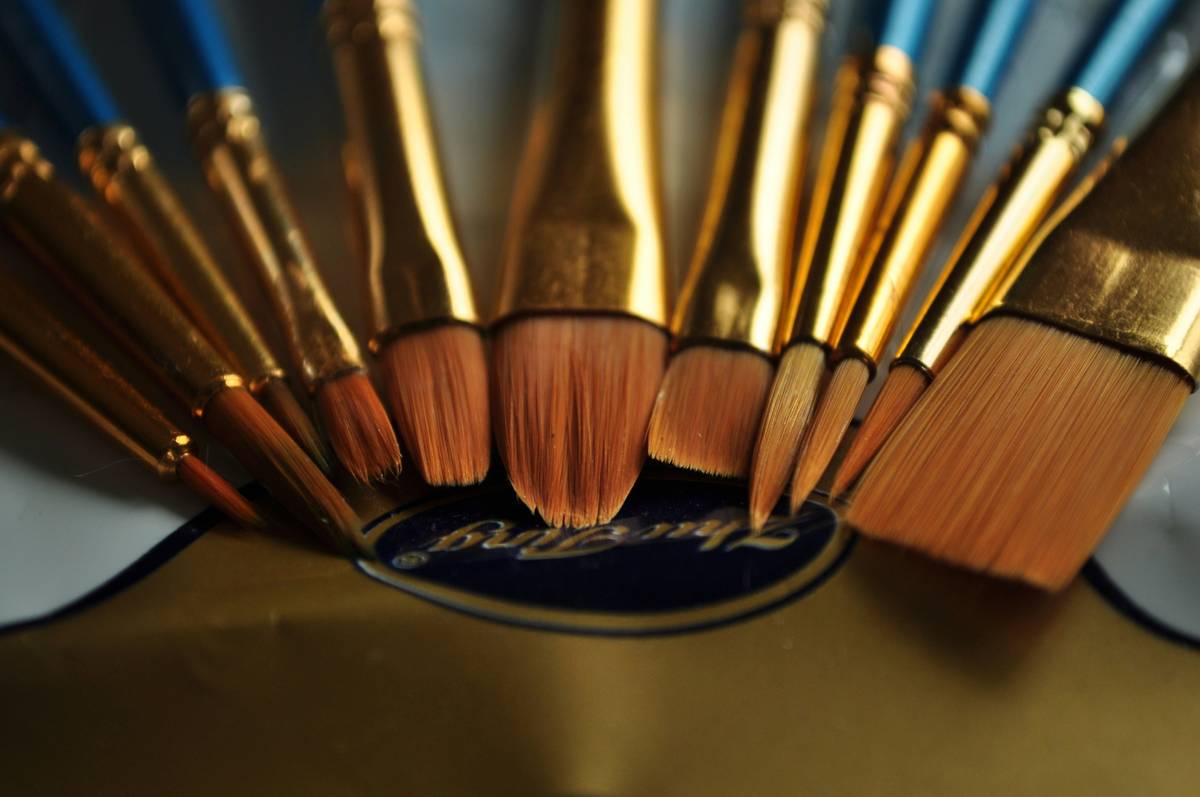
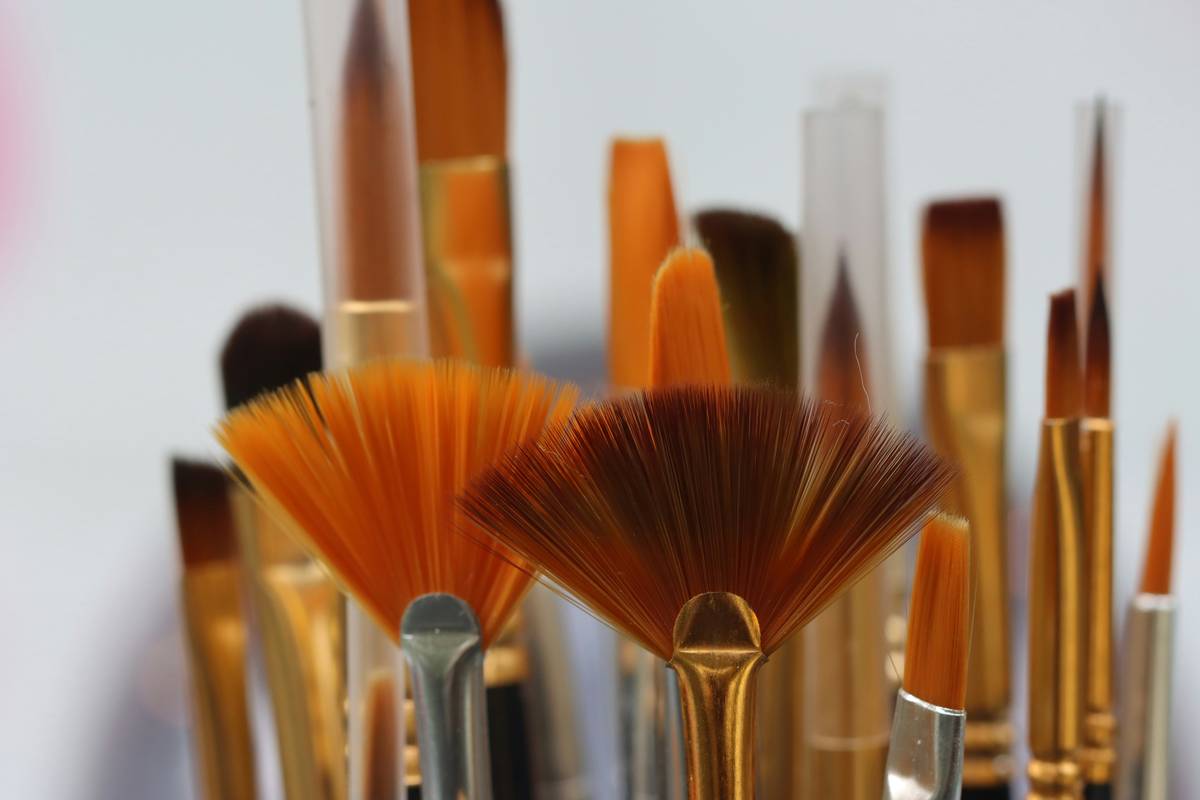
[Image Source: Example.com / Alt Text: Professional wedding makeup brushes]
A Personal Fail: “Glittergate”
I once used a cheap drugstore brush to apply glitter shadow during a friend’s bridal shower photoshoot. Big mistake. Not only did half the glitter end up on her cheeks, but the bristles also shed like a Chihuahua shedding its winter coat. Lesson learned: Always spring for quality over price tags.
Optimist Me: “With these tips, anyone can master bridal makeup!”
Grumpy Me: “Yeah, yeah—but first, coffee. Lots of coffee.”
Step-by-Step Guide to Using Wedding Makeup Brushes
Step 1: Prep Your Brushes
Why it matters: Clean brushes = flawless application. Dirty brushes spread bacteria onto freshly cleansed skin—not exactly #goals for your wedding photos.
- Rinse your brushes with lukewarm water and mild shampoo.
- Squeeze excess moisture gently; don’t twist bristles.
- Lay flat to dry overnight.
Step 2: Start with Foundation
Your base sets the tone for everything else. Use a dense, flat foundation brush to press product into the skin instead of swiping it around. Pro tip: Stipple lightly near problem areas like blemishes for extra coverage.
Step 3: Blending is Queen
A fluffy blending brush is essential for creating soft transitions between colors. Whether you’re working with eyeshadows or contour shades, circular motions are your best friend here.
Step 4: Finishing Touches
Detail brushes come into play now for precision tasks like winged eyeliner, inner-corner highlights, and lip color refinement. Trust me, these little guys pack a punch.
[Image Source: Example.com / Alt Text: Makeup artist demonstrating blending technique]
Best Practices for Perfect Bridal Makeup
- Avoid Overloading Bristles: Too much product leads to cakey finishes. Tap off excess powder or cream before applying.
- Layer Strategically: Build coverage gradually rather than applying one heavy layer.
- Use Setting Spray Sparingly: While it helps lock in makeup, too much spray can cause smudging over time.
The One Terrible Tip Disclaimers
Terrible Tip Alert: Some people suggest skipping primer because “brushes alone will do the trick.” Um, no. Primer creates an even canvas, making your brushes’ job infinitely easier. Skipping it is basically begging for disaster.
Real-Life Examples from Bridal Artists
Take inspiration from pros who’ve nailed it. Check out Sarah Smith (@BridalGlowQueen), whose signature dewy bridal look has gone viral on Instagram. She swears by Morphe’s E5 Oval Shadow Brush for effortless blends every time.
[Image Source: Example.com / Alt Text: Instagram screenshot featuring a glowing bridal makeup example]
Frequently Asked Questions
Q: How many wedding makeup brushes do I actually need?
A: At minimum, invest in five key types: foundation, blush, blending, detail, and setting brushes.
Q: Can I sanitize brushes quickly on the wedding day?
A: Yes! Quick-cleansing sprays are lifesavers for emergency touch-ups.
Q: Are synthetic bristles better than natural fibers?
A: It depends on your products. For cream formulas, synthetic works wonders; powders tend to pair well with natural bristles.
Conclusion
The secret to stunning bridal makeup isn’t just talent—it’s having the right tools. With our guide to wedding makeup brushes, you’re armed with everything you need to create a flawless look that lasts through tears, laughter, and endless dancing.
Remember the golden rule: Practice. Then practice again. Because while the best brushes help, confidence comes from knowing you’ve got this.
And finally, here’s a haiku because why not:
Brushes glide so smooth,
Bridal glow shines bright all day,
Love wins, makeup stays.

